Sunday, September 9, 2012

The Henna Hair Dye Experience

Thanks to Amelia Pond from Doctor Who (one of the best shows ever)I have wanted red hair for quite some time. I was waiting for the opportune moment for a drastic change and it finally came as I would be transferring Universities in the fall and becoming a design student. It was now or never.

I waited till precisely two weeks before move in day to schedule a cut and color (might as well get bangs while I'm at it). However, this turned out to be a traumatic experience. When the old disgruntled hair stylist finally began painting my hair with product she asked what I did to get my air so blonde. I casually said I use Sun-In quite frequently. Then she began screaming, "we need to get this out of your hair now!". Oh my goodness I thought my hair was on fire or something. According to this lady Sun-In has metallic salts, which react with the dye causing your hair to fall out. So I left the salon the same as when I came in, except now I felt like a sad wet puppy. 

I refused to accept defeat so I researched the contents of Sun-In as well as natural hair dye alternatives. Firstly, I found that Sun-In no longer contains metallic salts (it also says this on the bottle's label)and Second I found out about Henna for Hair. 

Henna Hair dye intrigued me because body henna is pretty cool so why wouldn't it look awesome on hair too. I looked through many photos and success stories. Also Henna dye is 100% plant based product that has been used for thousands of years and will not harm hair in any way. I also liked that the outcome was a little mysterious. It the resulting shade depends on the starting shade, so the end result can not be guaranteed. I did not mind this not knowing. 

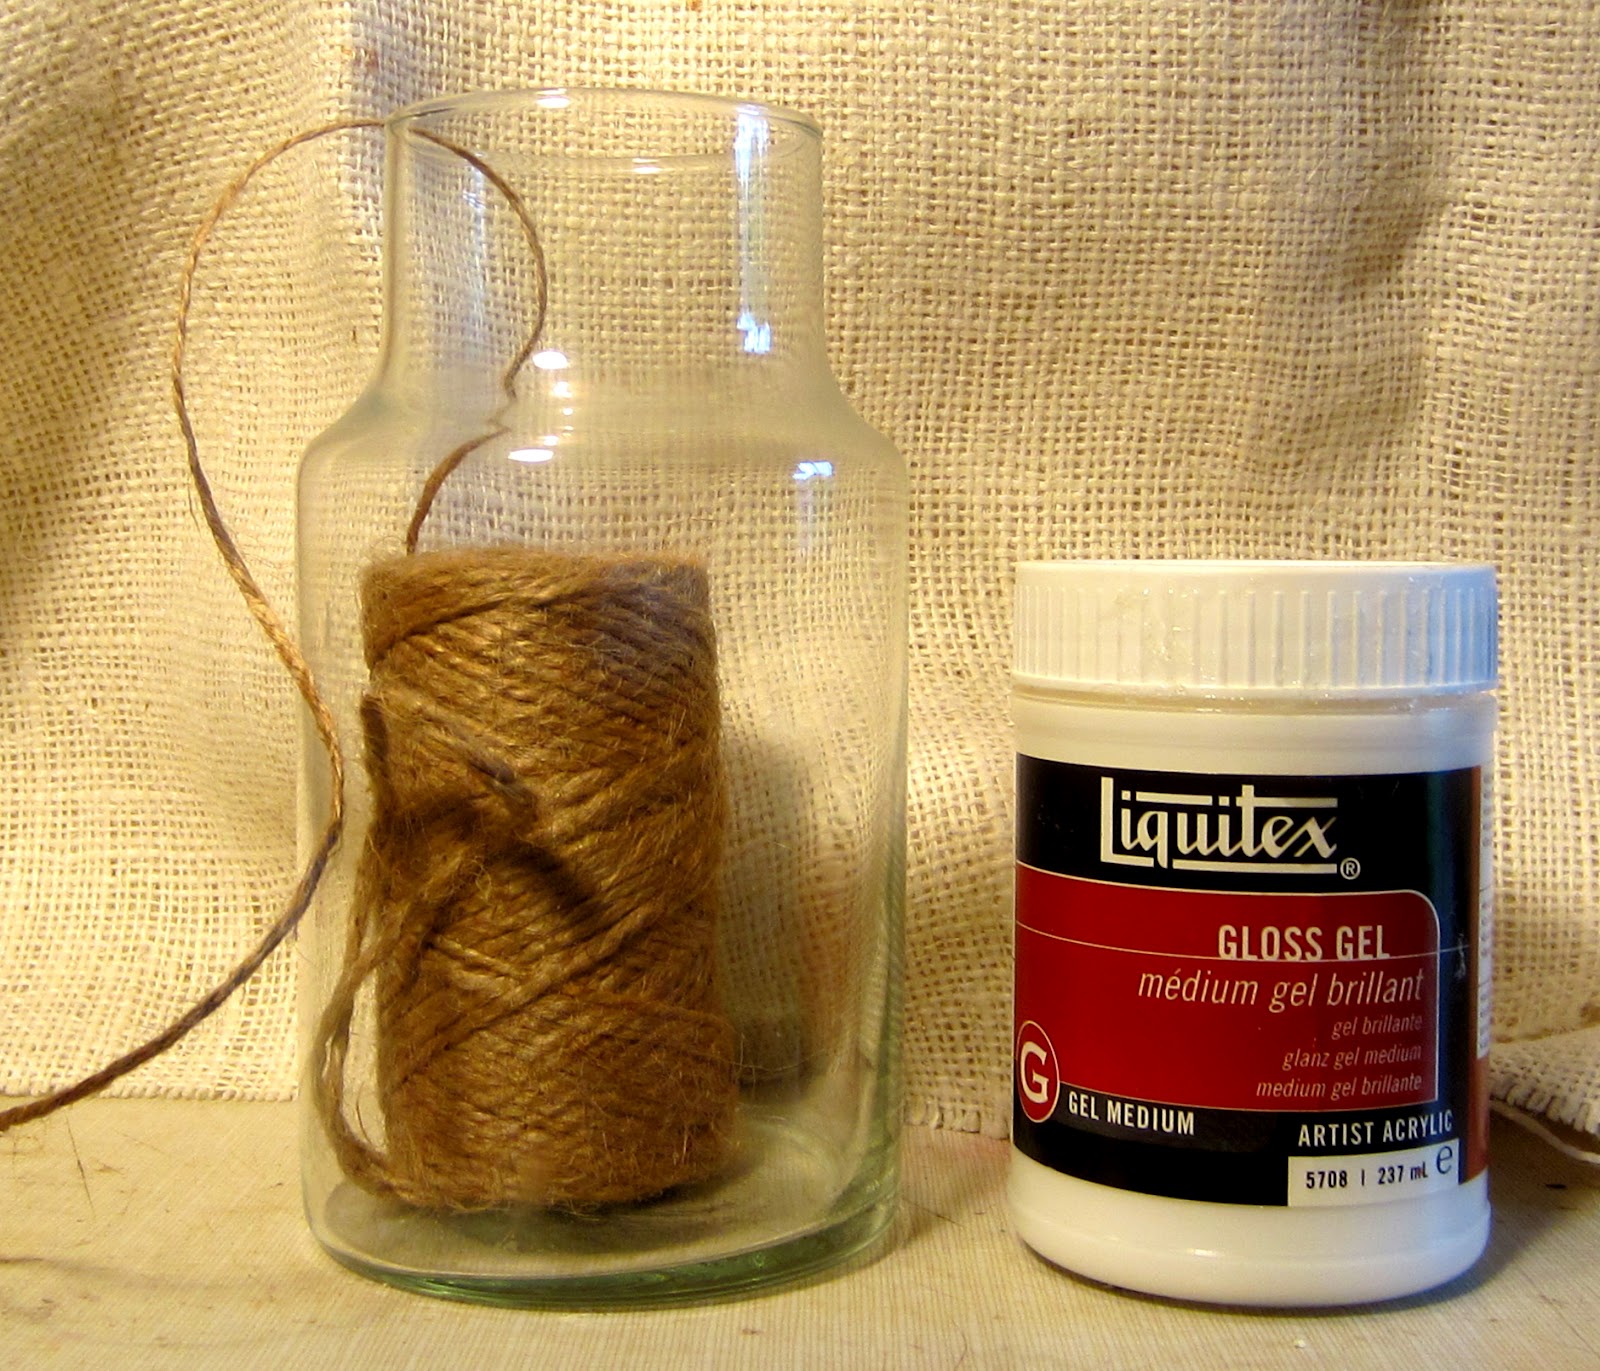
So after much consideration I ordered 500 grams of Ancient Sunrise Rajasthani Twilight from www.mehandi.com. 

What you receive is a green powder. To make the Henna you have to mix the powder with lemon juice and then let it sit at least 8 hours in a warm place. I suggest someone else apply it to your hair, I for example employed the help of my dad. Also this helper should definitely wear scrap clothes and gloves. I found it helpful to cover my ears with plastic wrap and Vaseline. Remember the henna will stain skin too.(www.mehandi.com. has a very detailed pdf of anything you need to know about Henna Hair dye including detailed instructions on how to apply it, http://www.hennaforhair.com/freebooks/hennaforhair.pdf) But the most important part is to take a before picture.  
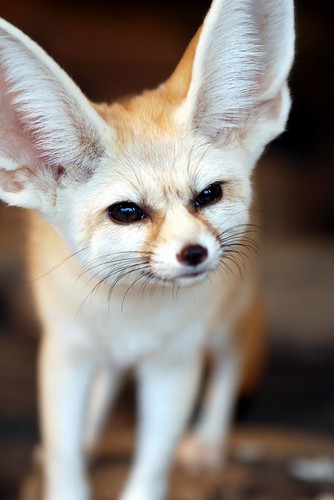
Before


Unfortunately, it will look and feel like you have a pile of dog poop on your head for the 2 - 6 hours that you leave the dye on your head. I left mine for only two. Then when you rinse it all off you will emerge looking like the little mermaid and smelling like a wet dog. (The hair will have a certain faint smell for a while afterwords. I don't really like it but other people actually enjoy the fragrance)

After 24 Hours


The color will darken as it oxidizes so here is a photo 

After 2 Weeks


This photo was actually taken right before I applied a second coat of the dye to cover the roots and get a richer color.

Personally I'm loving the new color and I've gotten several compliments on it. My mother however, as not yet fully gotten over the change. Henna dye was a good natural option and in conclusion, I would recommend this product. If you have any questions about my experience with Henna Hair Dye feel free to ask.

Saturday, August 25, 2012

Ways to End Summer

So it is a sad but true fact that summer is almost over. With the realization that I will be going off to school in about three days it has become crunch time to accomplish some of my summer goals that have been pushed to the side until now. There is simply so much to do this weekend. 

Today began early at 6 am! I had to get up early to work on a project I started the night before (more details to come soon, its still not done yet) Then, I had enough time to make blueberry muffins for breakfast. Then we headed off to Syracuse to go to the Rosamond Gifford Zoo one of the places I have been wanting to revisit this summer. 

The place is pretty much the same as it has been with the addition of a few animals and the loss of some others. There were new Sand Cats, two baby snowy leopards, and Fossa (the ones from Madagascar that eat the lemurs). Although the baboons and the Hyacinth Macaws were nowhere to be seen. Also, they added a pachyderm palace, which is a very nice addition to the elephant exhibit.

Fun Fact: how many pounds of poop do seven elephants make overnight? **(Answer below)

On the way out we were lured to the membership desk by the goody bag on display and we soon became proud Adopt an Animal Parents to a Fennec Fox, undoubtedly one of the cutest animals in the zoo. 

"Oh yeah, you think I'm cute."


Pretty sweet gift bag


After disapproving of some of the animal names at the zoo (Who names an elephant Chuck?) I had to give the stuffed fennec fox a right proper name, so I chose Harry. Having a bit of British fever lately due to the Olympics and the fact that I'm currently reading a biography of the Queen, the book Her Majesty Queen Elizabeth II, I realized that he does bear a similarity to Prince Harry indeed. 


Also, I just found the website zooborns.com that have photos of baby animals born in the zoos around the world. You can search by zoo or by species on the site. I was able to find pictures of our adopted Fennecs when they were born earlier this year on April 21. As well as pictures of the two baby snowy leopards born on June 14, who were not on display when we were there.

**Oh yeah, seven elephants produce about 800 lbs of poop overnight. That's a lot of poop to scoop. 

Also while in the Syracuse area we grabbed a bite to eat at Heid's of Liverpool. Its one of those classic no-nonsense hot dog  places (opened in 1917). Although, I ended up having some delicious chicken tenders and a pickle instead of a hot dog.


Like I said, there is a lot to cram into these last few days. Today was the only free day to go out to the dinner at the one place I've been dying to eat at all summer. And although I felt terrible about eating out twice in one day we just had to go to Nicky Doodles. I used to think McDonald's had the best french fries but ever since I've tasted Nicky Doodles' fries I have changed my mind.

Apparently some of the local animals think their food is good too. There was a skunk prowling the grass under the picnic tables as we got there and some people running for their cars, while others pulled out their camera phones to snap his photo. According to the workers the skunk and his partner in crime,who was not present this evening, are actually frequent visitors to the establishment. Needless to say, we chose to eat inside.

So for dinner I had a Raspberry Rondezvous Sundae (it was beautiful and delicious) and french fries for dinner. I think I shall ave to go for an extra long walk tomorrow. Oh darn it - tomorrow we'll be at the Church Bazaar and they have fried dough...  


Saturday, August 18, 2012

Twine Vase

Yesterday was the dreariest day of the whole summer. So gray, rainy, and cold - an inside day. Not a big fan of inside days. I did my best to occupy myself but inevitably I ran out of ideas around one o'clock. I resorted to pacing around the house pulling on my pigtails, however when I became constantly assaulted with the words: "Would you like to sort underwear for me since you have nothing to do?" coming from my mother I knew I had to find something to do. And fast.

So I grabbed the first blank canvas I see, which happened to be a glass vase-like container form a garage sale, and resolve to make something out of it. 

Ok, this is not the most interesting craft in the world and it doesn't take a geniuses to figure something like this out but here it is:  


Twine,Gel Medium or Mod Podge, Some Kind of Container, neon yarn 
(I think this would look great on wine bottles too)


Apply medium with a brush to the container about two inches at a time. Starting on the bottom edge wrap the twine around the container Until it is covered. Then I added a neon stripe to make it a little more interesting by applying gel over the first layer.

VOALA: A new vase has appeared right before your eyes.

Sunday, August 12, 2012

A Photo Safari

One of the things I've been wanting to do that I finally did, was go on what I was calling a "photo safari" in downtown. Now Downtown Utica is known to be a little sketchy with tons of pawn shops and empty buildings, but there is a lot of nice historic architecture. Hey, you never know what you'll find if you go explore somewhere you've lived near but never payed attention to. Here are some of the images I shot:


Friday, July 20, 2012

Custom Glitter Nail Polish

This is quite possibly the easiest and funnest DIY ever. The only thing I wish I knew is why didn't anyone tell me about this years ago? Glitter + Clear Nail Polish = home made glitter nail polish custom to suit your needs.


When I am really craving a new nail polish and finally go to the store to pick one out I am always drawn to the glittery ones in the front display yet always end up picking something more versatile instead. Also, the glitter nail polishes I already have are not glittery enough causing me to have to pile on layer after layer to get to the proper amount of glitter and by then the polish is so thick it will never dry and will inevitably get smudged. Solution - make your own polish just the way you like it. Also am I the only person with like five bottles of clear top-coat lying around?


So here's the scoop:


Package of assorted Glitter & Clear Nail Polish


I poured a little of the polish out to make room for the glitter because this one was very full. You will need a piece of paper rolled into a funnel to get the glitter inside neatly. The glitters I used in this combination were shades of pink, red, orange, and gold.


I call it Sunset Sparkle
So, pour as much glitter in as you want then shake well or stir with a toothpick. That's it.


This is the Sunset Sparkle painted on top of my all time favorite nail polish - Revlon Top Speed in Chili. Its my go to color and it drys fast and hard, good for inpatient people like me.


I actually made this one first. I call it Space Junk. To make this one I used larger grain glitter as well as the finer stuff used for Sunset Sparkle. I absolutely love this one because it is very sparkly. If your going to wear glitter polish you might as well go for the gusto. I used this on on top of Revlon Top Speed in Royal. Don't forget: glitter nail polish is also great for toes in the summer. 


Wednesday, July 18, 2012

What's for Breakfast? Two

Oatmeal-Raisin Cupcakes 
Kiwi Strawberry Smoothie

Last night despite the fact that it was 86 degrees in the house (yeah, no air conditioning) I found myself baking cookies. Smart right? Anyways, I say cookies because my dad has been hosting an optional workshop at work every other week, and upon request I bake cookies for these days as a reward for those who show up and as as incentive to others. This week I made Oatmeal-Raisin cookie cupcakes from Martha Stewart's Cupcakes. 

So I probably misspeak when I say "I was baking cookies" since my selection was found in a cupcake book but these confections seem to me one part cookie, one part cupcake, and one part muffin. 

The recipe:
3 3/4c. old fashioned oats
2 1/2c. flour
2/3c. oat bran (I used wheat bran instead)
1/2 tsp baking soda
1 1/2 tsp baking powder
1 tsp salt
2 tsp ground cinnamon
1 1/2c. butter(3 sticks)at room temperature
1c. sugar
1c. packed light-brown sugar
4 large eggs
2 tsp vanilla extract
1c. sour cream
1 1/2c. raisins
1c. sweetened flaked coconut

Preheat oven to 375 or 350 convection
Line muffin tins with paper liners. Whisk 2c. oats with the flour, oat bran, baking soda, baking powder, salt and cinnamon.

With an electric mixer on medium-high, cream the butter and both sugars until pale and fluffy. Add eggs one at a time beating after each addition. Add vanilla. Reduce speed to low. Add the flour mixture and beat until just combined. Beat in sour cream. Stir in raisins. 

Transfer 2 3/4c. batter to another bowl and add remaining 1 3/4c. oats and the coconut.

Fill each lined cup with 2 Tbsp plain batter and top with 1 Tbsp oat-coconut batter. Bake 18-20 min or until cake tester comes out clean. 
makes about 30.


This morning to go with my cupcake-cookie I whipped up another smoothie from the Food Network 50 Smoothies booklet. My ingredients were limited this morning as I rummaged through the kitchen but luckily I found a recipe with only 3 ingredients and ice needed - the Kiwi-strawberry smoothie (#11 in the booklet). This smoothie also happened to be the inaugural usage of my new blender, the Ninja Pulse. 
We decided to throw out our old smoothie maker when my dad pulled a piece of the blade out of his mouth after taking a sip of his blended ice coffee. Since then I have been using the old blender which was on its last leg and as also now met the same fate as the smoothie maker. So using this new and powerful machine was quite exciting. I also like that it comes with four single serve cups and a larger container too. The texture of this smoothie turned out perfect. Dare I say the best I've had at home thus far.

Anyways, back to the smoothie. Super easy, super yummy, and healthy too. 

Recipe: 
1 kiwi
1/2c. strawberries (I used them frozen)
1 Tbsp sugar
1c. ice
blend.
makes one smoothie

Thursday, July 5, 2012

Light Painting

There are so many reasons to love summer and one of the top on the list is fireflies. How can you not love something so incredibly pointless as light-up butts. All the other bugs in the world seem to find their mates without the need for blinking behinds. But that's what makes them so great, the nonsensicalness that is magical, that is summer. 


Anyways, I attempted to capture the firefly magic on camera with a long exposure shot but it was not as exciting as I thought it would be so I began running around with a flashlight instead. 


The one above is actually my dad.


This one's me


These were just done with a flashlight covered with our hands (hence the pinkish tint) but this would work great with sparklers, a glow stick, or even a cellphone light. 


To do light painting you need a camera that you can adjust the exposure time, I used my Cannon Rebel XS, a tripod, and a flashlight. To get a clear picture you really need two people, one to old the flashlight at the distance that you want it and one to focus the camera manually. You can play around with the shutter speed, in the second photo I had the shutter opened for the maximum 30 seconds (that was a really long time when running around in circles).


So have someone stand and hold the flashlight still to get the light focused. Then touch the photo button and don't touch the camera again until you hear the shutter close. The person with the light can run, jump, spin around, or even try to spell his or her name (just remember to spell it backwards), or draw a picture. Have fun with it and it's sure to be a surprise to look at once you're done. 

Tuesday, July 3, 2012

Pet Slime Mold

After this post it is quite possible that you will think me completely crazy. But ever since I was like seven or something I have always wanted a pet slime mold. I have the Planet Dexter Animal Grossology book to thank for this. This book is also responsible for my fear of tapeworms, nevertheless the book is one of my favorites. 


So What is a slime mold? According to the book a slime mold is actually a protoctista (prō'tək-tĭs'tə) - a single celled organism. Apparently slime molds can grow as big as the palm of your hand or even a beach towel - that's a very big cell.


So the pages on slime molds in the book are full of illustrations making them look so cute and cuddly, and instructions for keeping a slime mold pet. I just knew I had to have one. The problem is finding one. Every time I see something slimy and yellow growing on a log in the woods I wonder if it might make a good pet. I have searched for over half my life for the perfect slimy pet, but to no avail, until today. While walking the dog this evening I spotted the spitting image of the pet slime mold in the Grossology book, and I had acquired a new pet.


Just in case you think this guy is as adorable as I do, you may be wondering: What does one need to happily house a pet slime mold?
     Well, a slime mold is very low maintenance and low cost. No expensive cages or equipment needed. In fact you probably have everything you need already in the house (other than the slime mold I assume). 


Supplies:
apple sauce cup or other similar container 
circular coffee filter or paper towel
rubber band
big mason jar
water 
oatmeal


Basically: Secure the rubber band over the coffee filter and the apple sauce cup to create a taught surface for your slime mold to live on. Place the cup inside the jar. Fill the jar with water so that the coffee filter is just touching the water. Next, place a pinch of ground oatmeal  on the coffee filter for your pet to eat - they like a healthy meal. Finally, place your new pet on its "bed". Just remember to give it a name and feed it every other day or so and maintain the water level. 


I have appropriately named this one Slimy.


Sunday, July 1, 2012

What's for Breakfast?

I've been really into smoothie making this summer its kind of a mission of mine to make as many of the smoothies from 50 Smoothies mini cookbook from the April 2011 Food Network Magazine. Food Network Mag is obviously the best food magazine out there and I love these 50... mini-cookbooks (they are cute and packed with helpful ideas; except for the  bacon one - I don't like bacon) If you don't have this smoothie booklet you can still get all the recipes on the Food Network website


The choice of smoothie usually depends on what we happen to already have on hand. So today's smoothie of choice was Peach-Ginger. I spotted this one due to what I thought was an unusual ingredient that we had in the fridge - buttermilk. This smoothie was pleasantly and surprisingly delicious.


(Ah! taking a picture is so hard when 
you just want to drink the darn thing.)


Peach-Ginger Smoothie: 
2 cups frozen sliced peaches
1 1/2 cups buttermilk
3 tablespoons brown sugar
1 tablespoon grated fresh ginger


This recipe will make two servings.

Friday, June 29, 2012

Macarons: A Culinary Experiment


I've been seeing a lot about macarons lately and had to see what the fuss was all about. I knew the top the cookie parts were something    meringue-like and I've had meringue before at a bake sale and it tasted like chalk - yuck. 


Yet, I could not get these pretty little snacks of my mind so despite the warnings of how difficult they are to make I had to give it a try. The recipe I used was from:
http://domesticcharm.blogspot.com/2011/10/french-macarons.html 


Only five basic ingredients. Doesn't sound too bad. The macarons themselves weren't the problem for me it was finding the ingredients that was the challenge. 


Confectioner's sugar - got it. Egg whites - no problem. Almond flour - never heard of it and can't find it in the store. Superfine sugar - also not found at Wal*Mart Supercenter. Cream of tartar - thought we had it, turns out we didn't, bought some, found the one we already had, only needed a pinch.


Macarons take one:
     Made almond flour in the blender by pulsing blanched almonds until they formed a powder. Not really as easy it sounds using an artifact of a blender that we have. and then sifted it a lot to get the big pieces out.
     Attempted to make superfine sugar by putting sugar in the food processor. Think i went a little too long because it turned out as powdered sugar. (Although that technique might come in handy someday.)
     As for the cream of tartar I didn't realize I didn't have any till right when I needed it so I Googled cream of tartar substitutes and found vinegar tried this as an egg white thickener - did not work.
      All I ended up with was a big mess so batch one was discarded. 


But all was not lost as the superfine sugar and cream of tartar was later acquired


Macarons take two: 
Things I learned:

  1. homemade almond flour does work
  2. cream of tartar makes a huge difference - even if its only a pinch
  3. vinegar does not work
I was able to make an edible macaron although I will not pretend I know what I'm doing by posting a recipe because this was more of an experiment and there are other people who have these things down to a science. 

The result was tasty and good looking

Vanilla cookie with Nutella filling 

  
Lemon cookie with lemon curd filling 

A few days later I had my first professional macaron from 
Poppleton Pasteries in Corning NY just to compare
It was Raspberry and quite beautiful.


Tuesday, June 26, 2012

Grad Party Snacks


This past weekend was my cousin's graduation party which I had been looking forward to mainly because I was planing on bringing some pretty deserts to the party. We love to bake at home but usually more for flavor than looks and this was my chance to make something a little frivolous. 


My criteria for this dessert were good looking yet not too abstract, so that people would actually want to eat it. So after much consideration I decided to go with cake pops. Cake pops, who could go wrong? 


Cake Pops


Recipe: 

The recipe I used was from littlemissmomma.com for a more detailed tutorial(http://www.littlemissmomma.com/2010/07/cake-pop-recipe.html

Ingredients: 
  • Any flavor cake mix (I used Betty Crocker milk chocolate)
  • Corresponding frosting (I used  Betty Crocker Chocolate)
  • oil and eggs - for cake
  • white chocolate candy melts
  • shortening 
  • gel food coloring


Supplies:
  • candy sticks
  • Styrofoam
  • chocolate melting pot 
  • Ziploc bags 


Basically, make the cake according to the package instructions. Let it cool completely. 

Crumble the whole cake into a large bowl. You'll have to get your hands dirty for this next part. Take half the container of frosting and mush it into the cake until combined. 

Form the cake mixture into balls about the size of doughnut holes.

Melt the chocolate according to the package instructions. Add some shorting if its too thick. The chocolate melter comes in handy here because white chocolate is especially easy to burn in the microwave and the melter keeps it melted the whole time so it goes on smooth and easy. 
(This was my first time using a chocolate melter. I got a babycakes chocolate melter from Kohls on super sale for under $10 and it really did make chocolate dipping a lot easier)  

Dip each stick into the melted chocolate before inserting into the cakeball so that the chocolate will act as glue and prevent the cake from falling off later. Once on the sticks you can put them in the Styrofoam to stand them up. 


Next dip fully into the chocolate. 


Use extra chocolate to make designs on the top. To do this put the melted chocolate in a ziploc bag and snip a tiny bit off the corner and go crazy. The chocolate should stay melted long enough to finish. 


Tip #1: I didn't dip all of the cakeballs the day I made them, the ones that I left naked till the next day became crumbly and broke or fell off the sticks when they were dipped. I would recommend dipping them all the day they were formed into balls. 


Tip #2: I heard that liquid food coloring would turn the chocolate hard if used instead of the gel food coloring. I said no way but turns out it is in fact true. I was using up a started jar of blue gel food coloring but ran out halfway through and used liquid blue to finish up. The consistency of the chocolate was definitely different. It hardened very quickly and was difficult to get smooth. Had to add a lot of shortening  to make it work. Don't use liquid food coloring! 


The Stand
To make the stand wrap the styrofoam in matching wrapping paper for a nice display (this one was actually made from conveniently shaped packaging from a box)
   

Monday, June 25, 2012

First Post!!!

Hi I'm Kasia and yes, I'm finally doing this. I've been saying for a long time that I wanted to start a blog and looks as if I finally did.


I love my home and I spend a lot of time at it keeping busy, or at least trying to. Which is why I have decided to create this blog to share the things I spend my time doing with you so that you might do them too. I'm not really sure what's in store for this blog but I plan on lots of crafting tutorials, pictures of food, and other miscellaneous awesomeness.